DIY Reindeer Hot Chocolate Cones: An Easy, Yummy Gift

I love a warm cup of hot chocolate when it gets cold outside. It’s comforting, yummy and gives me fond memories of the holidays. These reindeer hot chocolate cones can be made super quickly by adults and kids, are inexpensive and make great stocking stuffers, teachers gifts, favors, or just-because gifts for the ones you care about.
What kind of hot chocolate/cocoa should I use?
For this project I used Swiss Miss because my kiddos have taste-tested a number of brands and this is their favorite. I tried making homemade hot chocolate last year and was disappointed with the results, so I will leave the recipes to the food bloggers out there. So, to answer the question, whatever your taste buds like will work just fine!
What topping are good for hot chocolate gifts?
For all of my hot chocolate projects I like to stick with some basics (chocolate chips, marshmallows, and candy canes) because I know they melt into the hot chocolate well and taste good. Feel free to explore more options, however, keep in mind that someone will be drinking it eventually, so it should taste good as well as look cute.
Ready to make some yummy cuteness? Scroll down for step-by-steps instructions and tips.
And for those of you that are more visual, check out How To Make Reindeer Hot Chocolate Cones Video
ANOTHER FUN DIY HOT CHOCOLATE GIFT: Hot Chocolate Tubes: Create Super Cute Gifts
CHECK OUT MORE GREAT SUPPLIES AND TOOLS: Resources I Love
Reindeer Hot Chocolate Cones
WHAT YOU’LL NEED:
- Hot Chocolate Powder Mix
- Mini Chocolate Chips (optional)
- Candy Canes (or Candy Cane Bits) (optional)
- Mini Marshmallows
- Cone Treat Bags (2 Bags Per Reindeer Cone) & Twist Ties (Which Come With The Bags)
- 1 Brown Pipe Cleaner Per Reindeer Cone
- Adhesive Dots
- 2 Googly Eyes Per Reindeer Cone (I used 12mm)
- 1 Small Red Pom Pom Per Reindeer Cone
- Tag For Festive Instructions (See Options Below)
MATERIAL TIPS:
- HOT CHOCOLATE – As I mentioned above, use whatever premade or homemade hot chocolate mix you like. Keep in mind that it takes about 1/4 cup mix per 8oz water/milk. For each cone I’m using 1/2 cup mix which makes either a 16oz drink or 2 8oz drinks. Plan accordingly (based on how many cones you want to make).
- CHOCOLATE CHIPS – If you want to add chocolate chips I strongly recommend using mini chips. They will more easily melt into the hot chocolate. I chose semi-sweet chocolate, but milk or dark chocolate mini chips will work as well.
- CANDY CANES – For this project I used candy canes and broke them up with the back of a metal measuring cup (a hammer created COMPLETE powder). While I was fine with the results, I found a bag of candy cane bits later at Michael’s and they were much nicer because of the lack of candy cane powder/dust which settles in EVERY crack. Candy cane bits create a cleaner line between the layers…if you can, BUY candy cane bits!
- MARSHMALLOWS – The mini marshmallows are nice and fluffy and fill the top of the cone nicely. While I have used, and liked dehydrated marshmallows for other hot chocolate gifts I do not recommend them for this as I personally don’t think they look as nice and you need SO many to fill the top out as well as the mini marshmallows do.
- TREAT BAGS – I used 2 6″ x 12″ cone treat bags to make each hot chocolate cone. For this size you can add 1/2 cup hot chocolate mix (which I show) OR 1/4 cup which makes a mini reindeer (not shown).
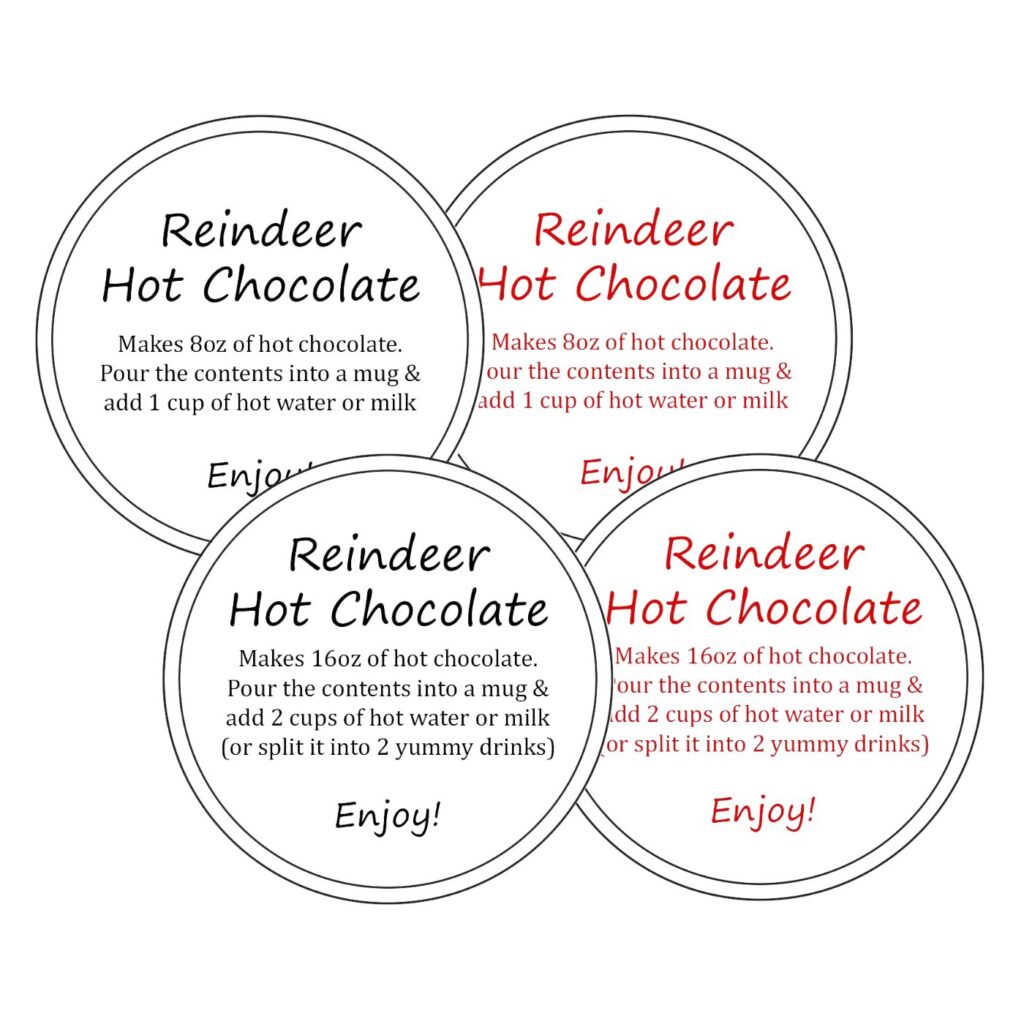
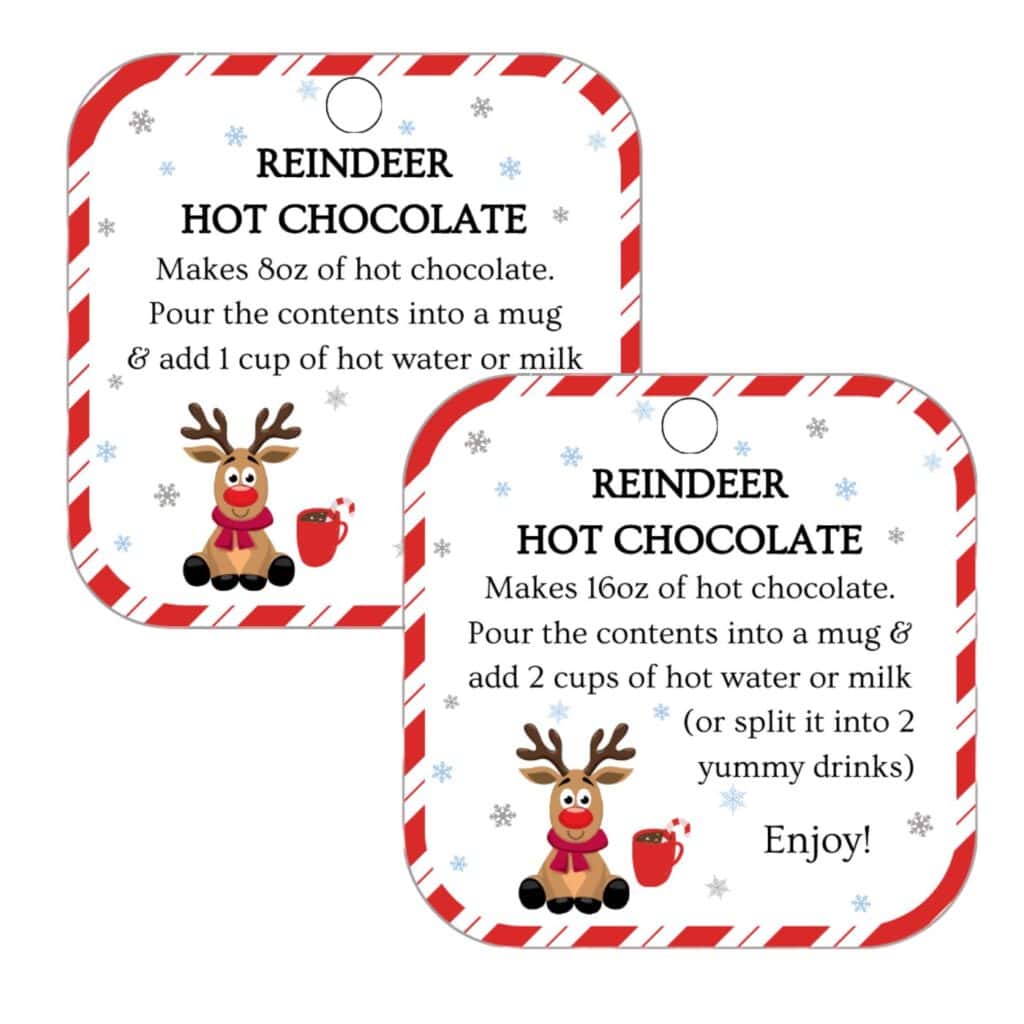
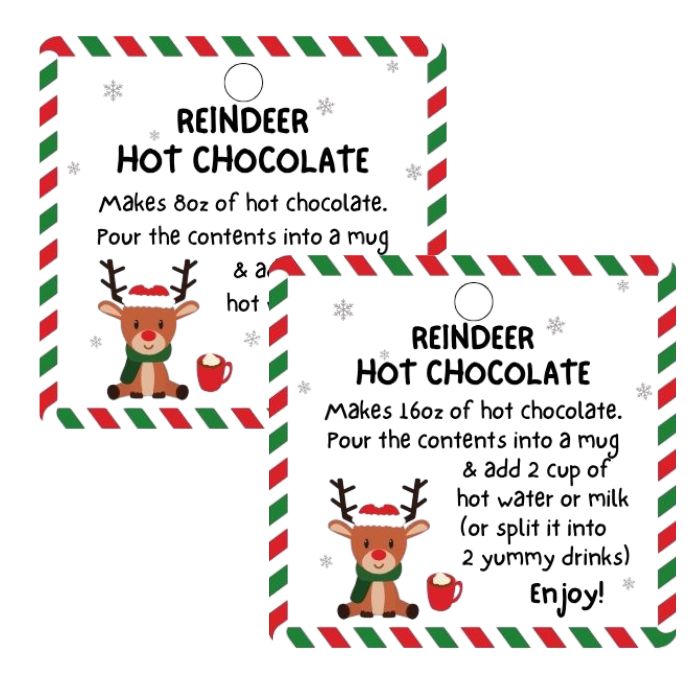
- TAGS – Since you can make 16oz (1/2 cup) or 8oz (1/4 cup) cones, I provided a free option for both sizes. For those of you looking for more color, here are some more colorful tag options from my Etsy shop, Teal Girl Designs. Use PromoCode GROWCREAT30 for 30% your purchase.
PREPPING THE ANTLERS
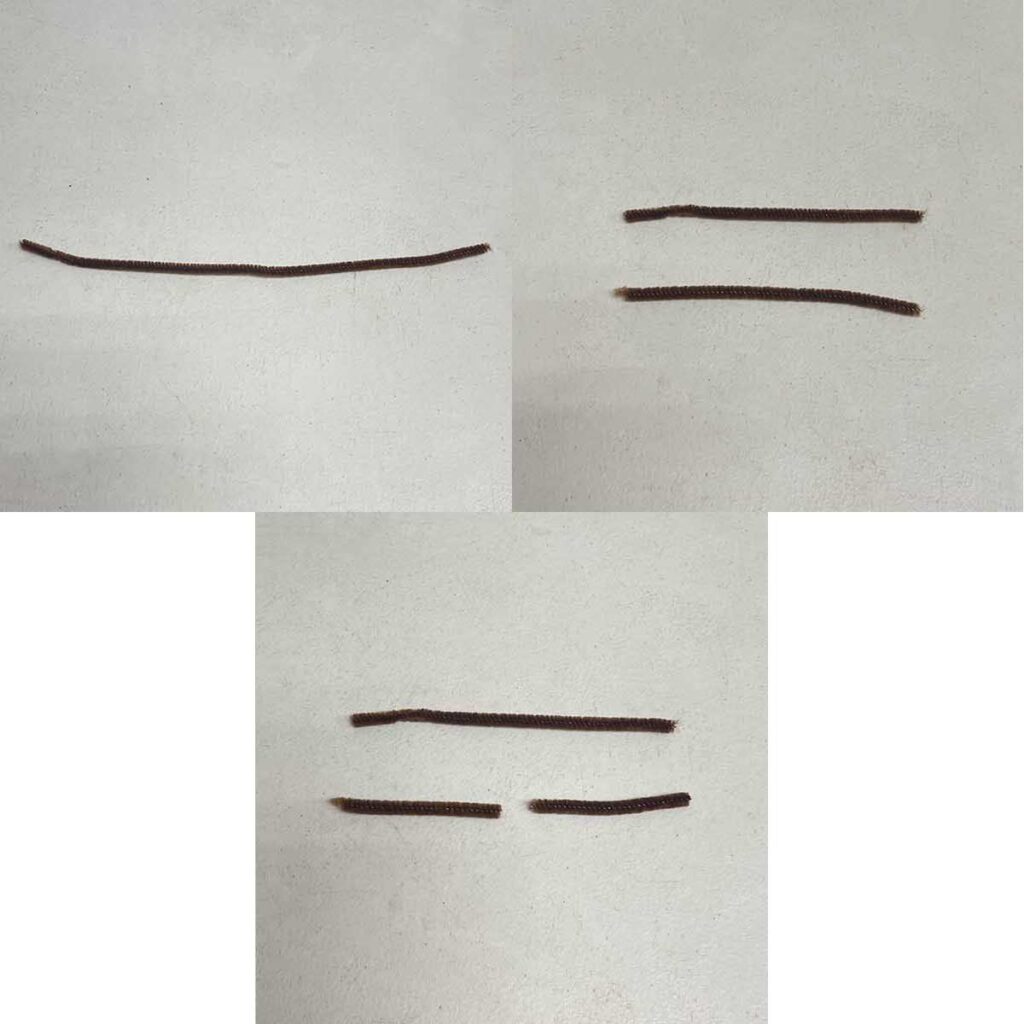
1. For each reindeer cone, you will need one brown pipe cleaner. Cut it in half and then take one of those pieces and cut that in half. Set these 3 pieces aside until you are ready to close the top of the cone. (TIP: It is easier to cut these BEFORE you fill the cone so you won’t have to either hold the cone while cutting it OR close it temporarily some other way.)
making the hot chocolate cone
2. Pour 1/2 cup of hot chocolate mix into a treat bag and shake a bit to make sure everything settles down into the tip of the bag. Holding the bag between your thumb and index finger of one hand, twist the bag once around with the other hand to tightly secure the mix in the bag. Use that twist tie that came with the bags to tie the bag closed.
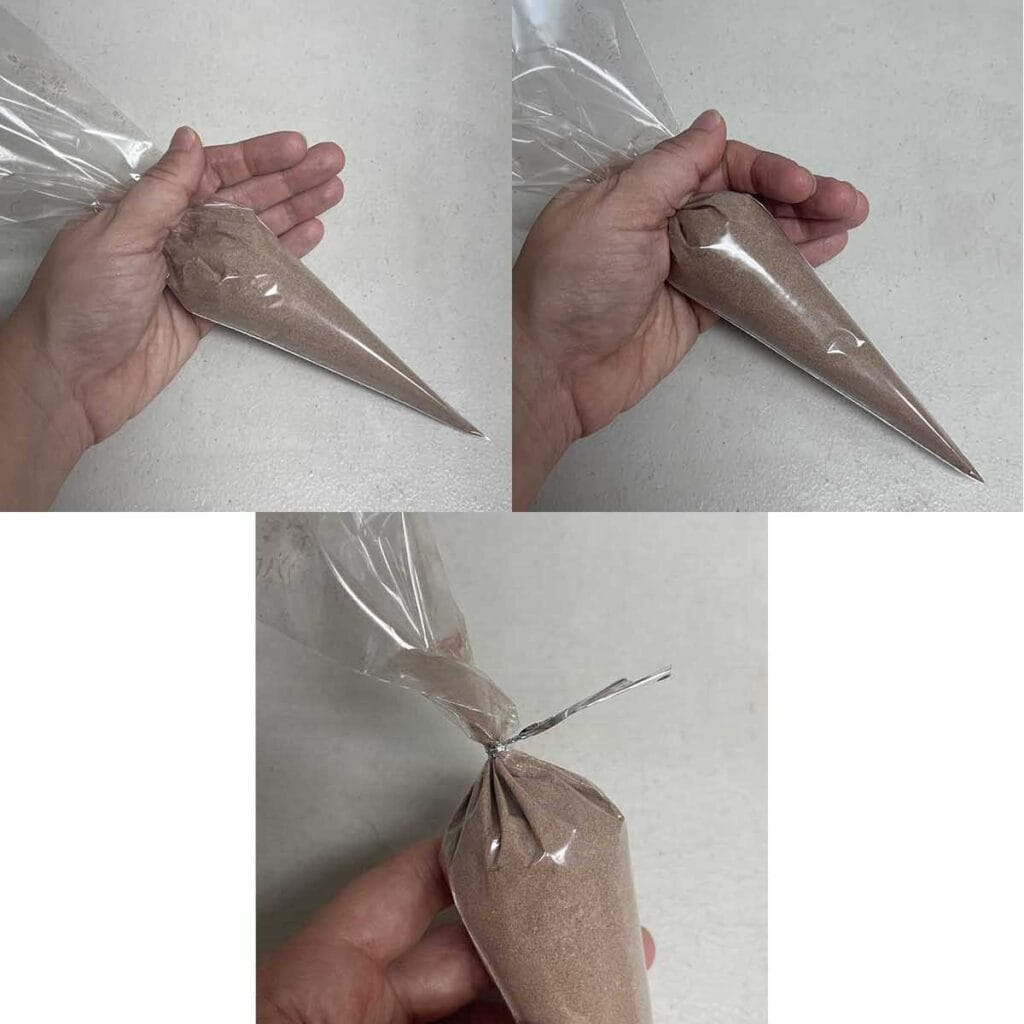
3. Cut the twist tie ends close to the bag, followed by the plastic top of the bag. We will be hiding the top and twist in the toppings, so the less material to hide, the better.
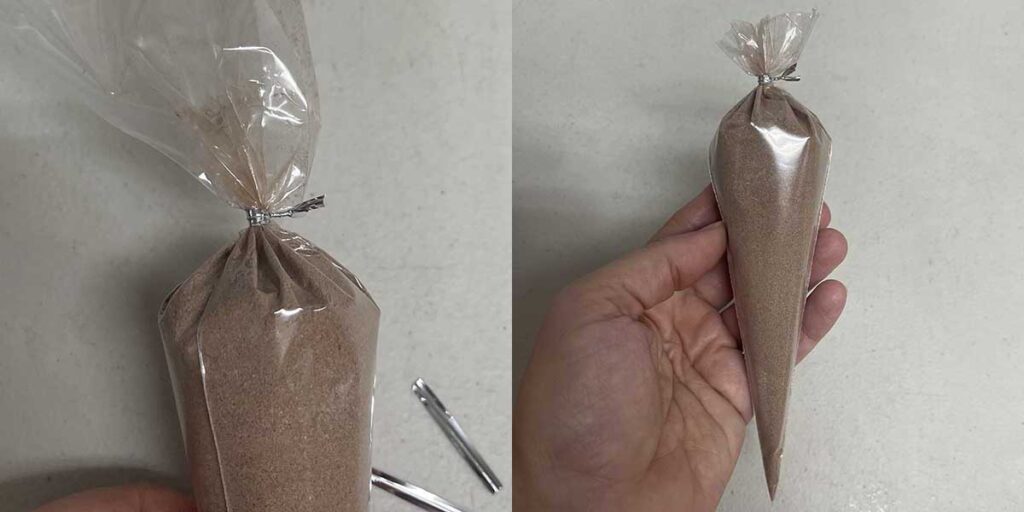
4. Open a second bag and drop the hot chocolate bag into it. TIP: Be sure to match up the lines on the sides of both bags. It looks A LOT nicer!

ADDING THE TOPPINGS
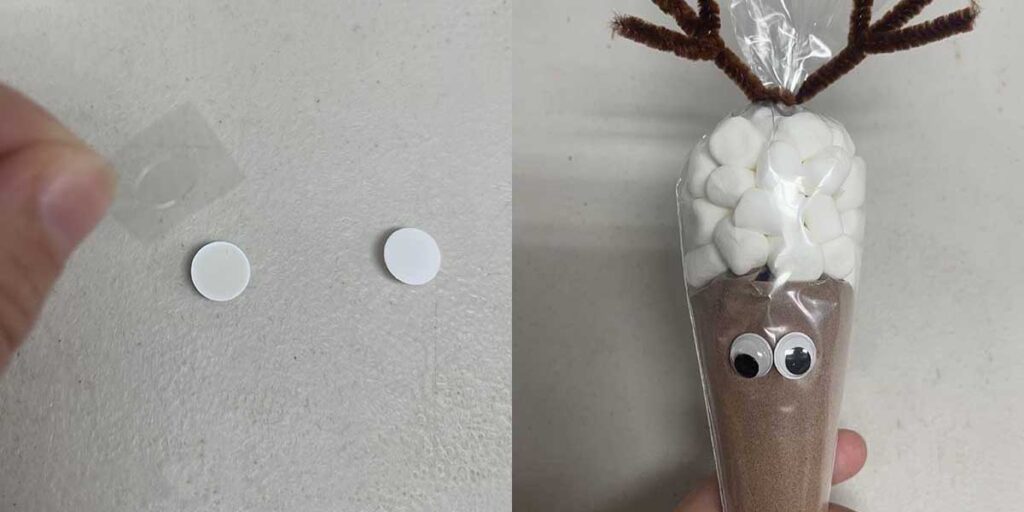
5. Now is the fun part, adding the toppings!! I’m showing just marshmallows below, but I’ve also added chocolate chips and candy cane bits to others. For whatever topping, start by filling in around the hot chocolate cone’s top and then on top of it. That way the bag top will not show, and it just looks neater.

CREATING THE ANTLERS
6. Once you have added the desired toppings, place the bag in between the thumb and index finger of your hand again and give it a good twist to close. Tie the bag shut with the large pipe cleaner piece.

7. Take one of the smaller pipe cleaner pieces and wrap it around one of the pipe cleaner ends sticking out from the bag. Bend the end up in a slight V to create cute antlers. Repeat on the other side.

MAKING THE REINDEER FACE
8. Now onto the face! Add one of the adhesive dots to the back of each googly eye. Peel off the plastic backing and stick the eyes onto the hot chocolate cone.
9. Add an adhesive dot to the red pom pom, peel off the backing, and stick onto the cone to finish.

10. Print out the desired sheet of tags which are below (there are black and red text options for both the large (1/2 cup) and small (1/4 cup) cones) and attach. DONE!!

tips FOR MAKING ConES WITH KIDS
These hot chocolate cones are extremely inexpensive and easy to make a bunch with your kids as teachers gifts or for their friends during the holidays. Here are some prep tips for having a smooth and fun time creating with your kids.
- If your kids are younger (or you are doing this with a group), cut the pipe cleaners, fill the hot chocolate cones, and trim the bag/twist tie prior to starting. It gets the messiest part out of the way, so you can focus on the toppings and creating the reindeer.
- Add the adhesive dots to the back of the googly eyes and red pom pom (leaving the plastic backing on). This allows the little (or many hands) to not fight over the dots roll and creates less waste of the dots (trust me on that one).
- Cut out the tags ahead of time, punching a hole in the corner as well as cutting the pieces of curling ribbon that secure the tag to the cone. Again, makes the assembly quicker and removes the need to use scissors (that can cut into the cones….yup, that can happen 🙂
I hope you have a fun time creating these cuties! Have a crafty day and happy holidays and gift giving!!
~ Nikole