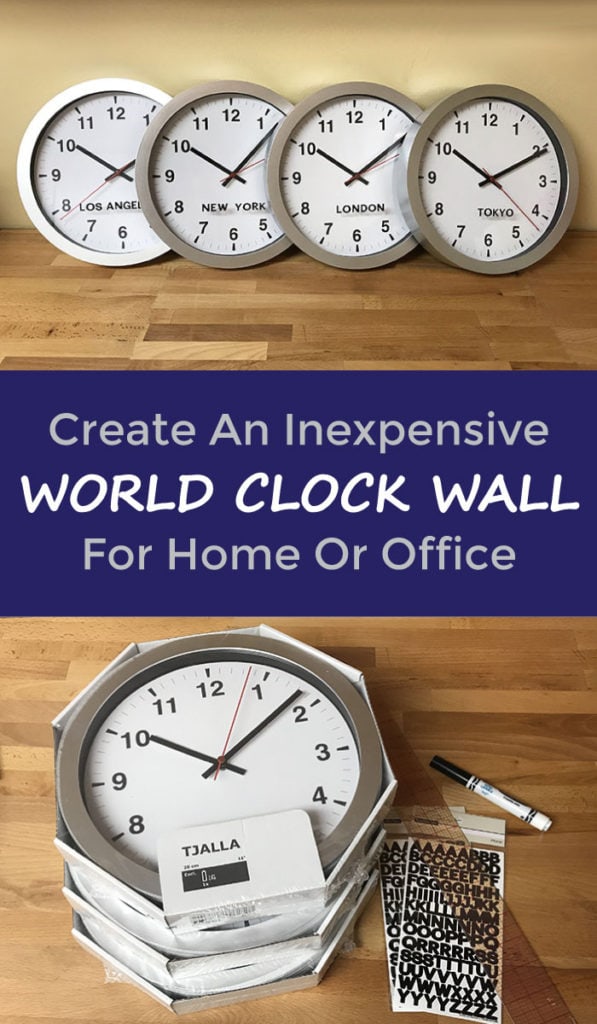
Create Inexpensive World Clock Wall Decor, Great For Home Or Office
I’ve always thought that world clock walls were pretty neat, and by that I mean a number of clocks (usually 3 or 4) on a wall that tell the times of several locations in the world. In my current and previous day jobs I’ve worked with every time zone in the US, multiple time zones in Europe and in Asia. It also reminds me that the world is so much bigger than just where I live.
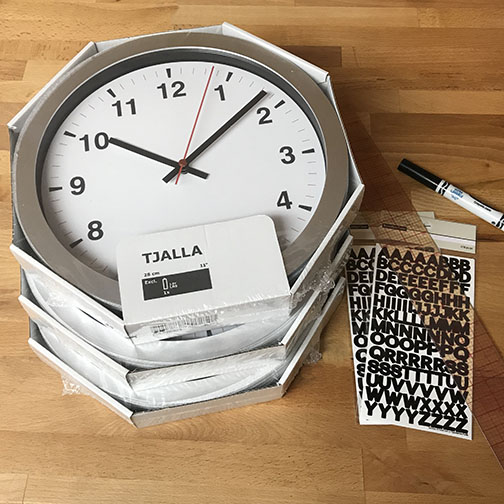
This particular project originated from my husband wanting to decorate his office at work. He wanted something nice and clean and relatively inexpensive. We were also looking for a way to display the locations without having to create separate signs for them (more moving parts to mount on the wall and align, also more holes to patch up later). The clocks were found at IKEA, but I found others at Target that were equally cute and priced (around $10 each). For the location names I used letter stickers that can be found in the scrap booking section of any craft store. There are plenty of fonts to choose from that range from classic to modern to whimsical.
The real key to making this project successful (as with any project) is having the right tools.
My trusty clear ruler that I’ve had since college has gotten me through hundreds of projects from sewing to drawing to painting and crafting. The numbers are easy to read and the ability to see through to the project to check accuracy is priceless. The other tool that makes this project come together so quickly is a washable marker. I used my daughter’s Crayolas. Any color will do as long as you can see it on the glass or plastic face of the clock. I would also be silly if I didn’t include batteries on the supply list (assuming the clocks run on batteries).
World Clock Wall
WHAT YOU’LL NEED:
- Clocks (from Ikea) (Options from Target)
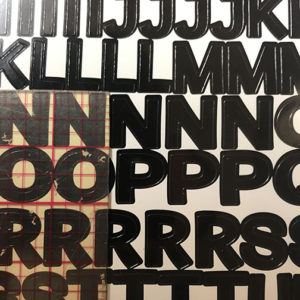
- Letter Stickers
- Ruler (Preferably clear)
- Washable Marker
- Batteries
MATERIAL TIPS:
- Clocks – Be sure to test each clock to make sure it works BEFORE you add the letters to it. It seems like such an obvious thing, but easy to overlook in the excitement of working on the project. The last thing you want is a beautiful location on a bad clock that you’ll have to return…wasted time and possibly letters if they won’t come off easily.
- Buy 2 packs of letter stickers. Unless you count up exactly how many of each letter you need you run the risk of running out. Save the extra trip to the store by spending the extra few bucks.
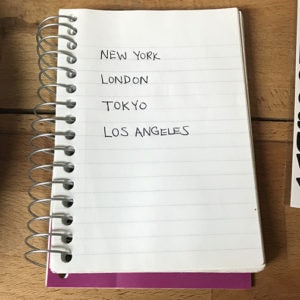
LISTING OUT THE CITIES
1. Write out the locations you are going to put on the clocks. I like to visually see where the center of each one is, so it’ll be centered and look proper. For example, Tokyo is pretty easy as it’s the center of the K. For Los Angeles it’s a bit more complex because of the space (which I count as one letter). Since there are 11 letters (space included), the center is the N.
LETTER PLACEMENT ON THE CLOCK
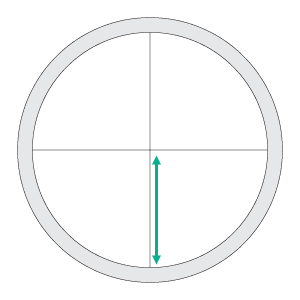
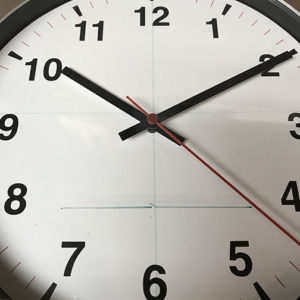
2. With your ruler and marker, make a line through the center of the clock at the 12 and 6.

3. Make another line from the 3 to the 9. These will be your main guidelines for keeping your location centered on the clock.

4. Measure the height of your letters. Mine were 1/2” (0.5”). This is important to know if you want to center the word on the bottom half of the clock.
5. Measure ON the center line (6 to 12 line) from the bottom of the glass up to where the 2 lines cross. For my clocks, it was 4-3/4” (4.75”).
6. Now here comes the bit of math in this project. Take your measurement for the bottom half of the clock (4-3/4”) minus the letter height (1/2”) and divide it by 2 ((4 3/4” – 1/2” = 4 1/4”) / 2 = 2 1/8”). This is the amount of space you will have above and below the letters.

7. Measure ON the center line (6 to 12 line) that amount (2 1/8”) up from the bottom and mark with the marker.
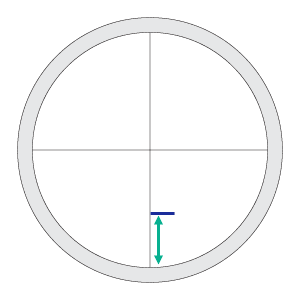
8. Make another line on the other side of the center line. This line will be your guide for where to place the letters.
ADDING LETTERS TO CLOCK
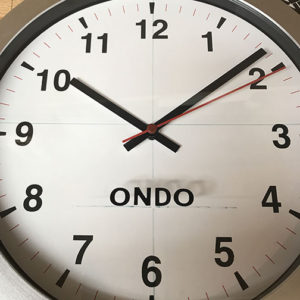
9. Now for the fun part, placing the letters! Pick one of the locations, I chose London in the pic below, and start placing letters from the center out. Depending on where the center of the word is, you may or may not have a letter on the line.
TIP: If a letter is on the line, use a slightly damp tissue to erase that little bit of line first. It makes the clean up easier later.
10. If there are no spaces, keep moving out from the center until the word is complete.
11A. If there are spaces, complete whichever side of the line has no space. For example, for New York I completed the York side as it’s 8 letters with the space. Also, add as many of the letters on the side with the space until you get to the space.
11B. Measure from the center line (6 to 12) out to the end of the finished side. Now measure that same amount on the unfinished side and mark it with a small line (Notice the little mark next to the N). This insures that the location will be centered.

11C. Starting from the little mark and working in, place the letters of the second word.
12. Once finished with all of the letters, take a slightly damp tissue and wipe away all of the lines.
13. Repeat the steps for the other clocks. It actually gets a lot quicker after the first clock because you don’t have to do the math.
14. Finally, pop those batteries back in, if not already, and set the times. Now you can hang them wherever you want.

This project is also a great way to teach kids about time and different places in the world. My daughter is only 4, but using the clocks and a map, we were able to explain time zones to her as well as why her grandparents (in Wisconsin) were an hour behind us.
I hope this project will inspire you to have a bit of fun with your walls.